If one or more Office apps is acting glitchy, work your way through this series of repair maneuvers, starting with the simplest.
We’ve all been there. You’re working on a document or a spreadsheet, or using email, and BAM! One of your Microsoft Office applications starts acting weird or stops responding.
Please relax, and don’t give in to panic or upset. This sort of thing does occur from time to time, and it is often quite easy to repair.
In this story, I’ll take you through a series of progressively aggressive (and more time-consuming) repairs for Office apps in Windows based on the ongoing assumption that the previous step — whatever it may have been — didn’t work.
Spoiler alert! The absolute worst case requires running a cleanup tool on the current Office installation, followed by a clean install of a new copy of Office. That has never failed in my experience, any time I’ve had to go that far.
However, let’s return to Step 1 to start this process where it also usually ends.
Step 1: Run the Office Quick Repair tool
Office installations include a built-in repair tool, and that’s the first place to turn when things go awry.
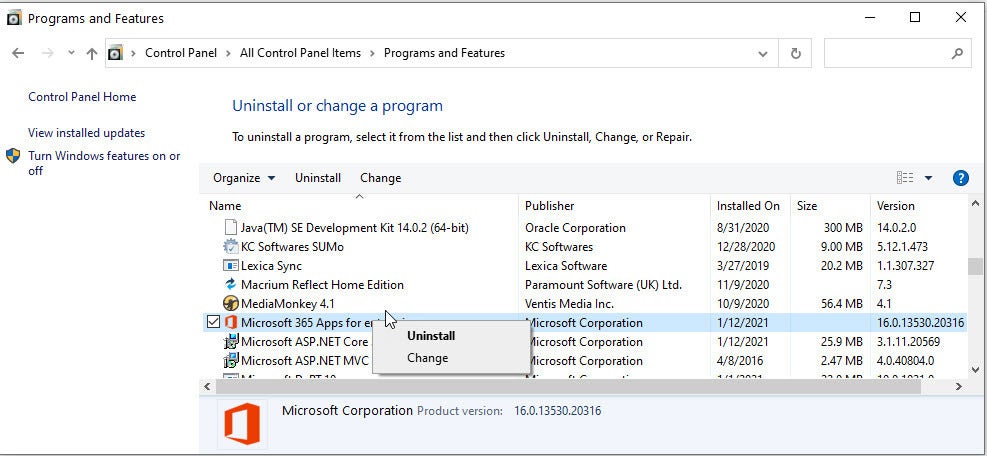
Open Control Panel by typing con into the Windows Search box and selecting Control Panel from the results that appear. In Control Panel, select Programs > Programs and Features. If you right-click on whatever version of Office you’re running (the version depicted in Figure 1 is Microsoft 365 Apps for enterprise), you’ll see a pop-up menu that offers two options: Uninstall and Change. Pick the Change option.
 IDG
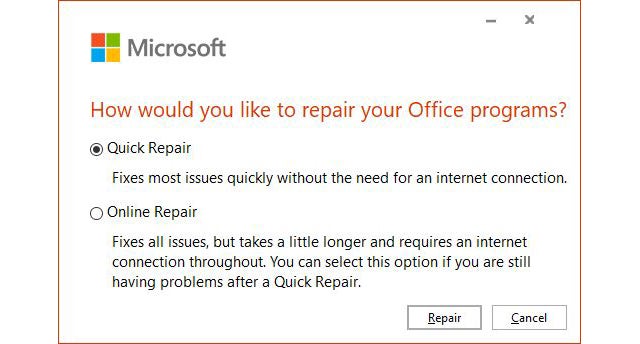
IDGOnce you’ve clicked Change, you may see a User Account Control window asking for permission to run the repair program. Click Yes, and the built-in Office repair window appears. The Quick Repair option, as shown in Figure 2, is selected by default. That’s good because that’s what you’ll try next.
When you run a Quick Repair operation, Office will attempt simple repairs using local files already on your PC. This usually takes a minute or two to complete. In about 4 cases out of 5, in my personal experience, this step alone is enough to repair Office properly and restore it to working order.
With the Quick Repair radio button selected, click the Repair button near the bottom right corner of the window.
 IDG
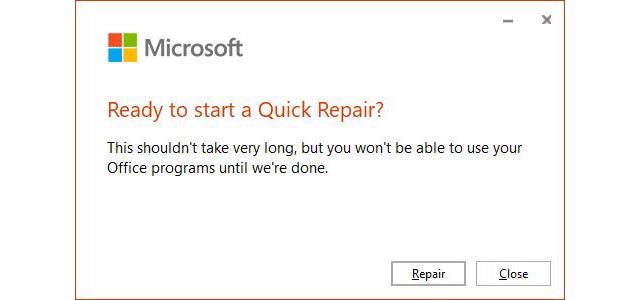
IDGA window opens to ask you if you’re ready to commence repairs. Figure 3 shows what that looks like. Click Repair again on this screen.
 IDG
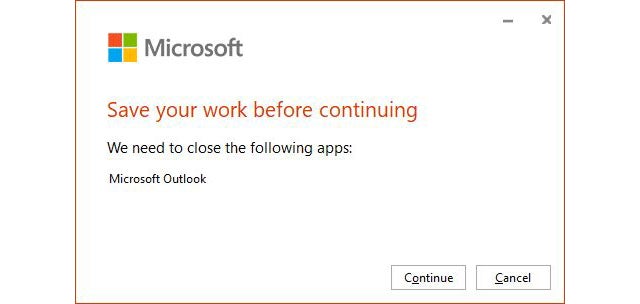
IDGIf you have any Office applications open, you’ll be asked to close them before the repairs can complete. On my test machine, for example, I had Outlook open. This provoked the request shown in Figure 4 (where, of course, I clicked Continue to close Outlook so repairs could work through to completion).
 IDG
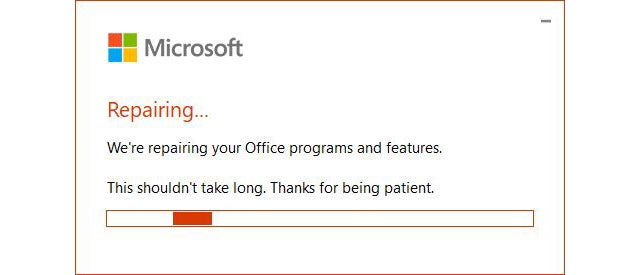
IDGNext, you’ll see a window that stays up as long as repairs are underway, as shown in Figure 5.
 IDG
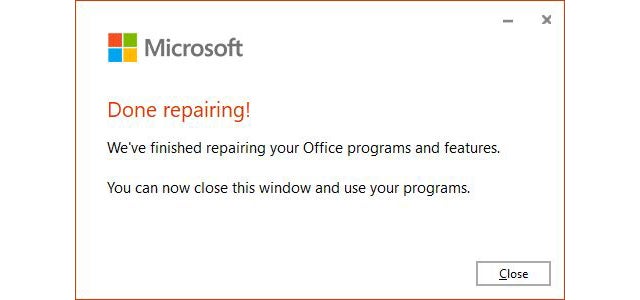
IDGThis process seldom takes more than one or two minutes. Even on my 2012 vintage test machine, it was done in under a minute (on a healthy Office installation, I cheerfully confess). When the process completes, the “Done repairing” window appears, as shown in Figure 6.
 IDG
IDGIf you’re lucky, when you open your formerly balky or misbehaving Windows app, all will be well. If so, you’re finished with repairs. If not, proceed to Step 2.
Step 2: Use the Office Online Repair tool
Office’s Online Repair option works and goes through exactly the same steps as Quick Repair, so I won’t walk through all those screen shots again. This time, after you right-click your Office version in Programs and Features and select Change from the pop-up menu, select the Online Repair option instead and then click Repair.
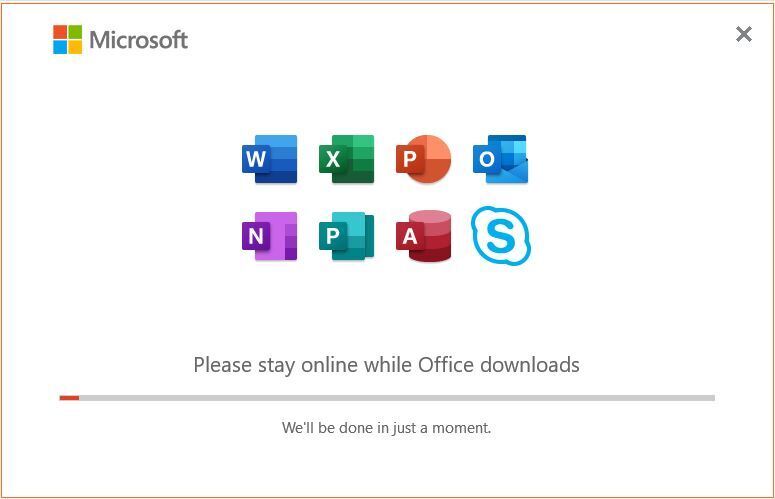
This operation takes a bit longer because it downloads the Office applications and their supporting files from the Microsoft servers to the target PC. That means three minutes and up is typical for it to step through its paces, depending on your internet download speed. My connection just clocked in at 331 Mbps on the test machine (according to Ookla Speedtest), and it took 2.5 minutes to get to the download announcement screen shown in Figure 7.
 IDG
IDGThen it took another 4 minutes and 24 seconds for the (genuine) progress bar shown above to download all the files. Watching my network access while this was underway, I saw the typical on-again, off-again download behavior for Windows Update occurring here. The download meter ran as high as 180 Mbps, and as low as a few Kbps while the download was underway.
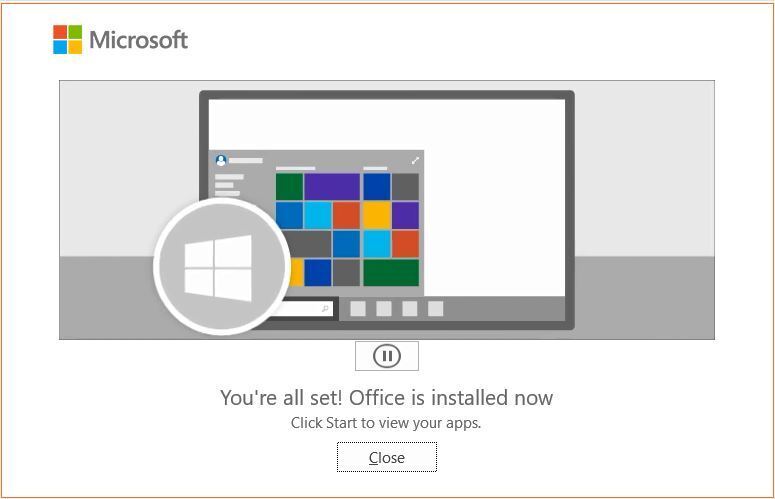
Just before the progress bar completed, a notification popped up to tell me that my Office install was complete. The installer window changed to an animated display that included what’s shown in Figure 8.
 IDG
IDGClick the Close button, then try your problem Office application again. In my experience, only 1 in 10 Office installations will still fail to work. If yours works, count yourself lucky and get back to your normal routine.
If it still doesn’t work, proceed to Step 3.
Step 3: Try the Microsoft SaRA
Microsoft SaRA is the Microsoft Support and Recovery Assistant. Microsoft itself uses this program for troubleshooting, so if you ever call in for telephone or online support, they may ask you to install it (or they may install it for you, as circumstances dictate).
Please note: this tool only helps with issues related to Office installation, removal, activation, or sign-in, as well as Teams and Outlook issues. If you don’t suffer from any of those ills, please proceed to Step 4. Otherwise, follow along with the next few paragraphs and images. This tool is indeed helpful, and worth getting to know.
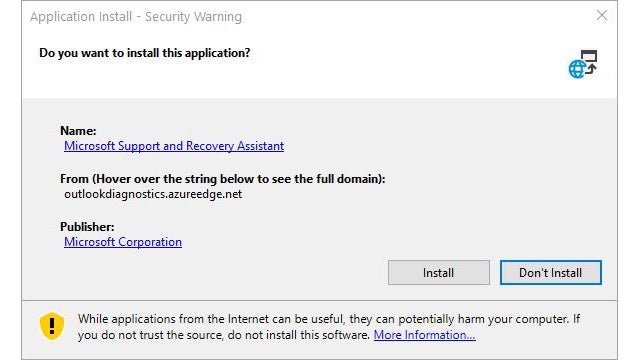
First you must download SaRA in ZIP form. Unzip to a folder of your choosing, then run the file named SaraSetup.exe to install the program. You’ll see a dialog box like the one shown in Figure 9 open up and ask you to confirm installation.
 IDG
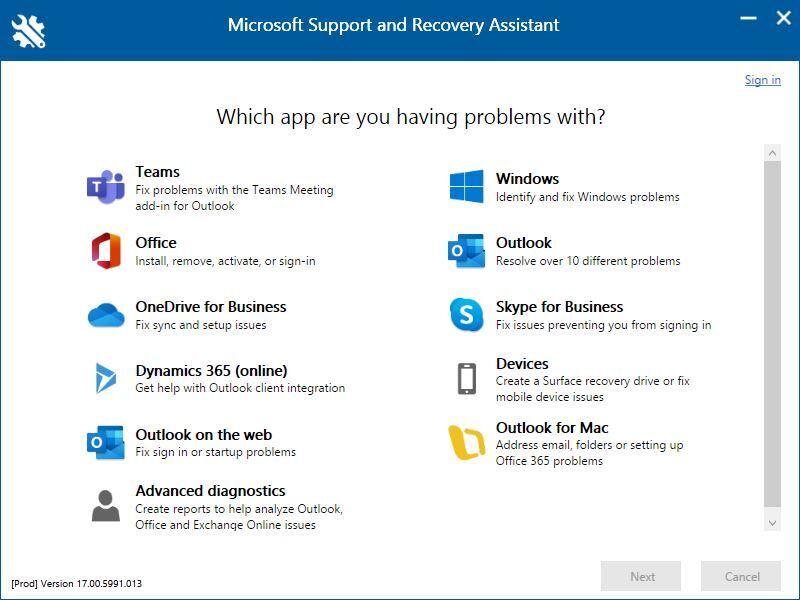
IDGOnce you’ve installed the program, the home screen opens up, as shown in Figure 10. It includes options for Teams, Office, the Outlook desktop client, Outlook on the web, advanced diagnostics, and more.
 IDG
IDGYou’ll have to explore these screens for yourself and see if your problem shows up. If so, the program runs wizards just like those in Windows’ built-in troubleshooting facility (Start > Settings > Update & Security > Troubleshoot) to guide you through problem diagnoses and fixes. I’ve used the Outlook item successfully to deal with issues related to sending and receiving email, as well as when Outlook stops responding or freezes.
If you’re lucky, you’ll find your problem covered, and SaRA will fix it for you. If not, please proceed to Step 4.
Step 4: Wax off, wax on (remove and replace Office)
If you have to go this far during actual Office repairs, my condolences. You’re probably feeling pretty frustrated by now. Be of good cheer! We’re going to download and run a tool that completely obliterates your current Office installation. Then you’ll download and install a fresh, new installation from the Microsoft Office download page.
First, a precautionary detour
Whenever you make major changes to a Windows PC — and what we’re about to do surely counts — it’s a good idea to back up your current installation and know how to restore it. That is, unless you already have a current image: I make a fresh one at 9:00 every morning using Macrium Reflect, and I always keep the Macrium Rescue Disk (a bootable flash drive that knows how to find and restore Macrium image files) handy. Even so, if it were late in the day, I would make a fresh backup myself at this point. On my systems, this typically takes 3-8 minutes, so it’s not a huge wait. (It took 6 minutes on my test PC.) YMMV.
One more thing: if you’re running an older version of Office — namely Office 2016 or older — you’ll need to save a copy of your Office key in case you need it upon reinstallation. WinAero.com has a handy script you can use to retrieve such keys: make sure you get it, write it to a file, and put it on a USB drive before you go any further down the “wax off, wax on” path described here. Then you’ll be able to access it later on, should you need it.
Download and run OffScrub
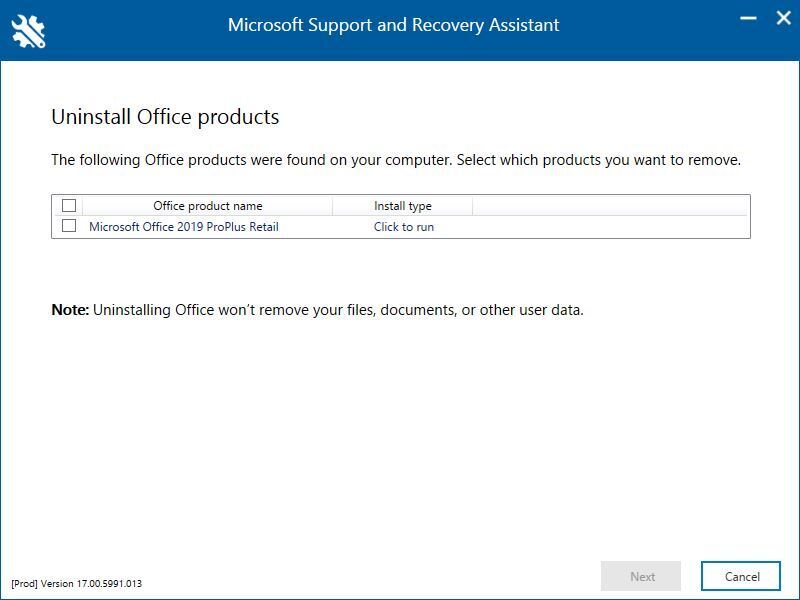
If you’re coming from section 2, grab the download link for what Microsoft calls the “uninstall support tool” in its Support pages. Its filename is SetupProd_Offscrub.exe, so I’ve gotten in the habit of calling it “OffScrub” myself. Once you install the file, you’ll see it’s just the Support and Recovery Assistant (SaRA) aimed precisely at cleaning up whatever Office installation the tool finds on your PC, as shown in Figure 11.
 IDG
IDGIf, on the other hand, you’ve got SaRA installed already, click on the Office item on the home page, then click I have Office installed, but I’m having trouble uninstalling it. This takes you to the same screen shown in Figure 11 above, so you can keep going from here.
Next, you’re asked to confirm the uninstall and to check a box that reads I have saved all my work, closed open Office applications, and stopped any other setup program. Then, SaRA gets to work: it detects the chosen installation (which takes a good while: about 10 minutes on my test PC), uninstalls the chosen Office files (another 10 minutes or so), and cleans up (20+ minutes). Then, finally, your old install of Office is gone, gone, gone.
Once the cleanup is done, you’ll need to reinstall Office. If you’re running a subscription, you can visit the Microsoft support page “Download and install or reinstall Microsoft 365 of Office 2019…” and follow its instructions. If you’re running an older version of Office, you’ll need to lay hands on the right installer. (If you don’t have it, you can use the HeiDoc.net Microsoft Windows and Office ISO Download Tool to grab the version you need.)
The end of the Office repair road?
If Office still doesn’t work after the “wax off, wax on” maneuver, you’ve got bigger problems than you thought. That means it’s time to think about an in-place upgrade install for the Windows OS itself as your next move. I wrote a step-by-step story on that very topic for Computerworld in 2018: see “How to fix Windows 10 with an in-place upgrade install.”
Here’s hoping this step-by-step guide has helped you solve your Office problems as simply as possible. You don’t want to walk this whole road unless you must. (I know, from bitter experience.) Good luck!
This article originally appeared on ComputerWorld.
